Saturday, December 31, 2016

Pancetta

I've long known of pancetta as the unsmoked cousin of American bacon. Aside from both being made from pork belly, trying to compare the two is like trying to compare popcorn with Frosted Flakes. While the two come from the same source, the treatment and method of production creates a completely different product. While bacon is delicious in its own right, it banks on smokey wood chip to achieve its flavor.. Pancetta on the other-hand is flavored delicately with aromatics and warm spices allowing mainly the pork flavor to come through, slightly perfumed.

I used to think that pancetta was mainly a cured meat product to be used for cubing up and putting into soups and spaghetti alla carbonara. While those are certainly, perfectly good uses, pancetta's repertoire can go much further beyond. Sliced thin, pancetta can be fried up or topped onto lean cuts of meat like loins or poultry before being placed in the oven to give a richer flavor and keep moisture in. Unlike bacon though, pancetta is delicious eaten as is, without the addition of heat. Sliced paper thin, and let allowed to come to room temperature, the fats in the meat melt when placed in the mouth. The flavors are delicate and can be reminiscent of fine prosciutto, in texture and saltiness, but with a little more flavor as prosciutto tends to only be seasoned with salt.

In Italy, most Pancetta sold is the stesa, or unrolled style, where as in the US, the majority of what's sold is the arrotolata or rolled style. Evidence shows that this cured cut goes as far back as the ancient Romans and that in the middle ages it accompanied sailors across long, ocean-going voyages. However you choose to enjoy it, like me, you'll likely find  that it's a delicious and worthwhile endeavor. Here was my recipe and procedure. Happy eating.

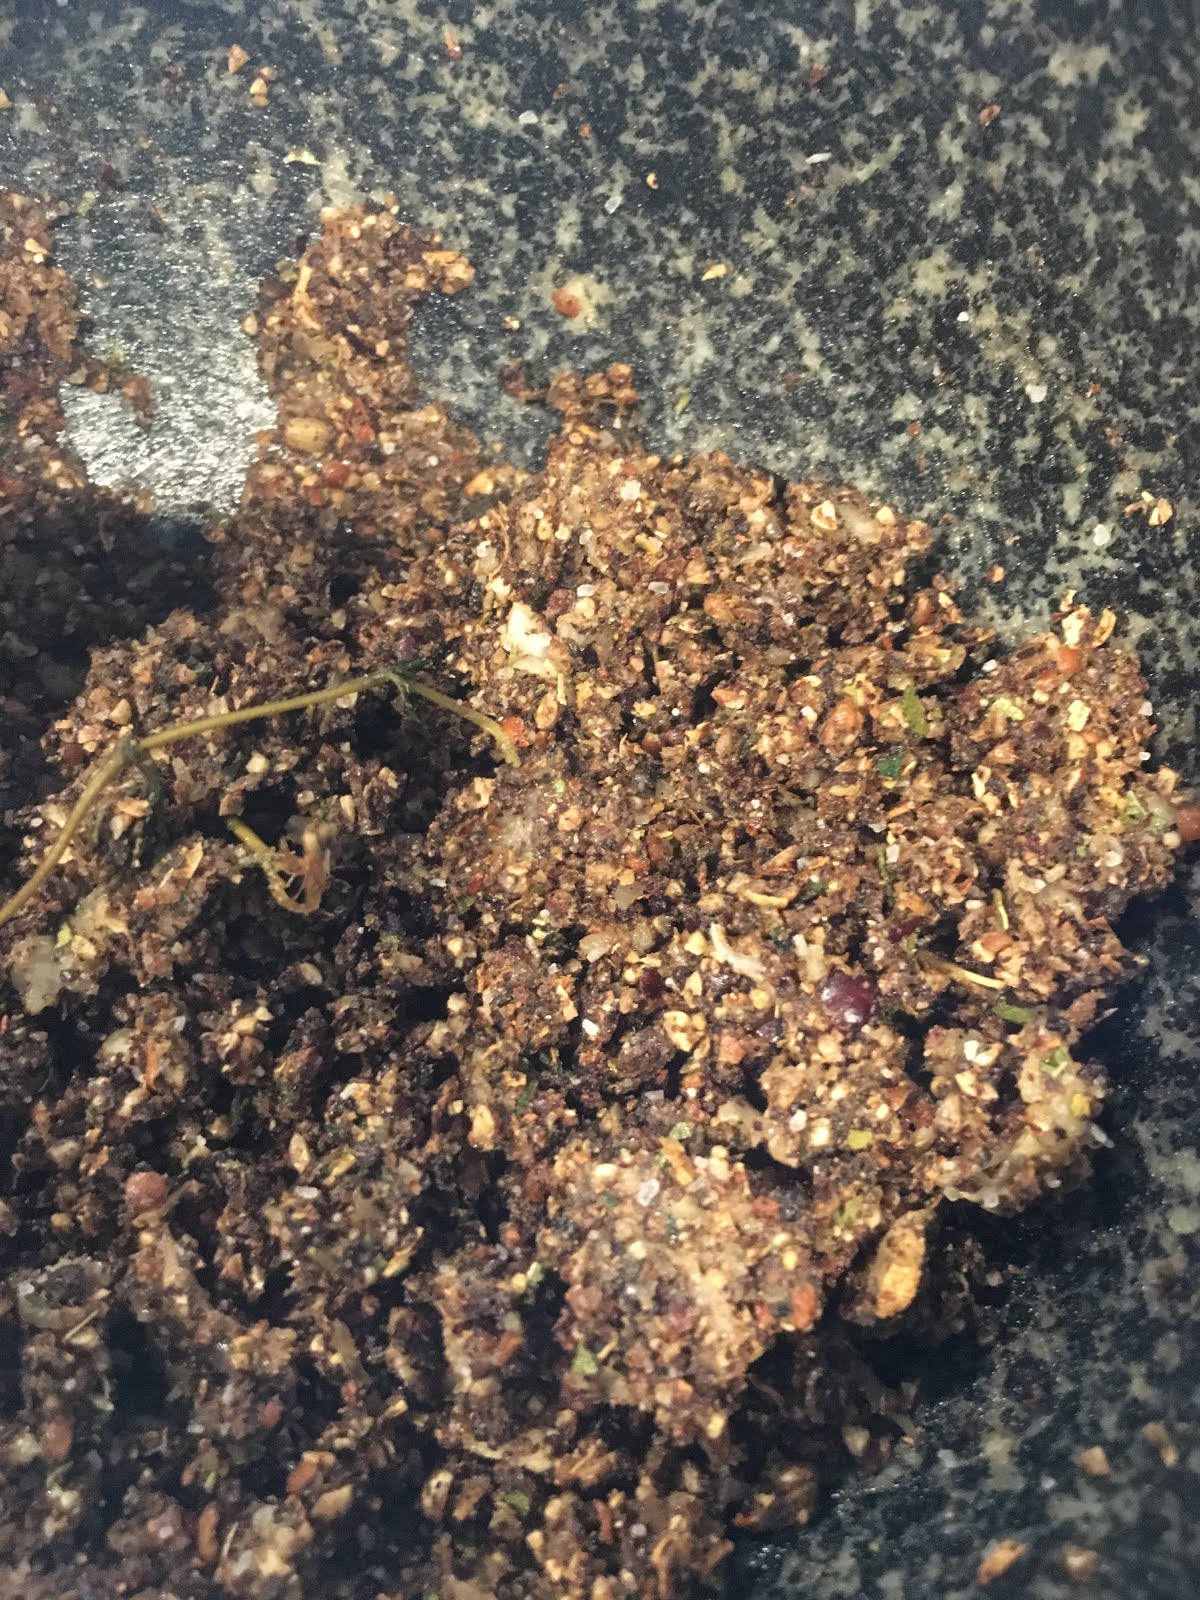
Combine spices and grind into a paste in a mortar and pestle.
While not necessarily required, remove the skin layer, leaving as much fat as possible.
Massage for a min and put parchment paper with weights on top in rectangular container.
Turn every other day. This is what it should look like after a week.
Rinse off the salt and spices and dry with some paper towels.
Roll as firmly as possible to avoid getting air pockets in the center.

Start at one end and work your way down with a butcher's knot.
Weigh and label your meat before putting it into the curing chamber.
I patiently wait for a little over 3 months for the meat to lose 35% of its moisture.
Portion out and vacuum seal. Some to be sliced thin and eaten as is, some to be cooked with.
Enjoy with your other home cured meats!

Monday, August 29, 2016

Terrine

The word terrine originates from the French terrin or earthen pot, the vessel used to make this traditional mix of meat (or vegetables) with fat and aromatics. Falling under the staple category of forcemeats in charcuterie land, it's a dish traditionally served cold and designed to be long lasting as nitrates are typically added. The main difference between a terrine and pate is coarseness. Either coarsely ground or chopped, a terrine has distinguishable ingredients layered or intertwined, whereas a pate is homogeneous. Typically, in France, terrines are made of game meat like venison, or pheasant, and usually also include pork. It's the primary way these game meats are eaten in France. Of course, they can be made simply with pork alone, or complexly with wrappings like bacon, caul fat or pastry, exotic ingredients, and lengthy aspic (think consommé + gelatin) layering sessions. These are techniques used by the likes of Carême in the early 19th century invented for the royalty of the time. While I feel like terrines were seldom seen in the United States 20 years ago, they seem to be gaining in popularity along with charcuterie in general, possibly due to the exposure that the internet affords. Take this chefsteps video for example, on which this recipe is heavily based. There are tools available today that make these formerly advanced recipes foolproof. The ingredients are all readily available if you look hard enough. Nothing to be afraid of...

Recipe:
5 g Yellow mustard seed
5 g Coriander seed
3 g Black peppercorns
2.5 g Allspice
1.5 g Clove
30 g Salt
3 g Pink salt
1.1 kg Pork shoulder
400 g Pork liver
300 g Pork fat
75 g Bread, crust removed
100 g Egg, about 2 whole
75 g Milk, whole
150 g Dried white nectarines
80 g Brandy, or dessert wine
3 g Thyme, fresh, chopped

Special equipment:
Terrine mold
Sous-vide wand
Vacuum food sealer (optional)


The difference between fresh and store bought eggs:


Sunday, December 27, 2015

Bresaola

Bresoala is an attractive and delicious lean cured meat made of beef. Unlike most cured meats, this one is almost completely lacking in fat, which may appeal to the health conscious, but it doesn't compromise in flavor. When crafted with the right amount of herbs and spice, the meat gets perfumed all the way through and has a beautiful rosy color. It can be eaten as is, put in sandwiches or sliced thinly and treated almost like a raw beef carpaccio, with a shaving of parmesan cheese and a drizzle of olive oil. Of course, like most cured meats, it's best served when sliced freshly and let come to room temperature.

Bresaola is what got me into meat curing about 7 years ago. Frustrated with the typical $28.99/lb price tag at the time, it dawned on me that this sublime cured meat was nothing more than an air dried hunk of meat that I could acquire from a butcher and wouldn't be too hard to do myself. The size is manageable, and after a bit of research, I realized that so too was the cure time. Unlike a large prosciutto that requires no less than a year of aging, a cured bresaola could take as little as 3 weeks to cure in the right conditions, roughly the same amount of time I'd wait if brewing beer at home. Totally doable.

In fact the first one that I made many years ago was done in my chest-freezer converted fridge that I used to ferment and serve my kegged beer from. The controller was one that allowed a temperature range from about 40˚ to 70˚ which would be perfect for curing. Well, it turns out the first and probably second attempts at making this cured meat ended up with a moldy and spoiled end result. The mold that had grown on the meat was green and fuzzy, not the kind you want on your meat. White mold is acceptable and good and actually serves to protect from the bad molds. After about a week of aging though, the white mold started to turn green. I was aware at the time that this was likely due to excessive moisture in the closed chest-freezer environment. I remember that on the second go around, I left the chest-freezer door cracked open, but the spores of the bad mold had already inoculated my chamber and I ended up with the same results. I remember scraping off the green mold every day in an attempt to salvage the project, but in the end, even though I tasted bits of the untainted core, it was safer to toss the experiment in the name of safety.

My third attempt was done outdoors in the winter, still before I had and humidity control or even monitoring. It hung under an awning in my backyard, and it was the best of the three that I had tried. It ended up maturing fine, but the end product was mediocre. I was still figuring out the spice blend and ingredient ratios, and the outdoor environment was too varied. Temperature swung probably a delta of 30 degrees between the mid-day warmth and late night chill. I doubt that humidity was very constant either. There was a bit of case hardening, meaning that the outer inch of meat was cured nicely, but the inner core was still a bit on the raw side, indicating that the initial curing period was a bit more dry than required.

I don't remember if I made it again between that time about 5 years ago and now, but if not, this would comprise only my 4th attempt. Over time, I have learned a lot and acquired a proper chamber dedicated to the task, and I can happily say after having tasted this, I've reached what I was aiming for many years ago, and it's definitely been worth the journey. Here's my recipe adapted from a combination of online recipes and Michael Ruhlman's Charcuterie book:

Be sure to scale everything proportionally based on your meat weight.

Prepare the ingredients by carefully measuring and weighing them out. Finely chop the herbs and grind the peppercorn, juniper, clove and allspice with a mortar and pestle. Combine all the ingredients together and mix until uniform with your hand. Put the meat in a large ziplock bag and evenly add the spice mixture. Massage the spices into the meat for about 2 minutes. This is a step that I would have probably skipped in the past, but I think it contributes a lot.

Try to remove excess air from the ziplock bag and leave in a container to catch any leaks or drips. Keep it in the fridge and turn every day or two to keep the cure mixture and liquid evenly in contact with the meat. Most recipes say this is a 3 to 7 day process. I left mine in (because I forgot about it) for 12 days. After the curing period. Take out the meat, rinse it off under the sink and dry with a paper towel and truss it up to air dry in the wine fridge. The temperature was set to 65˚ and I added a good amount of water to a tray of salt in the fridge to see that the humidity was at about a constant 80%.

When the meat lost 40% by weight, I took it out. This took 23-24 days for me.

I broke it down into smaller pieces and immediately vacuum sealed two of the three parts to preserve their freshness. Slice super thinly on a meat slicer, this produced a melt in your mouth piece of heaven.

Enjoy!

Tuesday, June 23, 2015

Coppa, Capicola, Cappicollo

Whether you know it as coppa, capicola, cappicollo or gabagoo, these names all refer to roughly the same thing. We're talking about a cured whole-muscle usually spiced with red pepper flakes, chilies, cayenne or the like. The other ingredients vary quite a bit by region and taste. These cured meats are typically made from the neck (capo=head, collo=neck in Italian) muscle, extracted from a whole pork shoulder. My recipe was a combination of what I thought would be best after having looked at about 5 or 6 recipes. Here it is:

lbsgrams%
pork shoulder2.841288.2
salt45.093.50%
Instacure #23.220.25%
sugar19.321.50%
white pepper12.881.00%
clove13.220.25%
coriander10
juniper berry31.420.11%
Smoked paprika7.090.55%
rosemary8 leaves0.55%
cayennepinch42.773.32%

For the cure process, I added all the ingredients to a large zip-top bag and massaged the meat. I set it in a baking dish in the fridge and flipped it once a day for six days. After it was all done, I removed the meat and rinsed it and patted it dry. Since I didn't have a casing big enough, I decided to use some caul fat that I found at the butcher shop. I figured it would serve as a protective membrane to prevent the meat from case hardening, or drying out on the outer surface too quickly.

After a good wrapping in a couple of layers and a quick wrap up in butcher twine, I set it in the fridge at 50°F and about 75%RH to start. A tray of moistened sea salt is key for maintaining the proper humidity level. And for a low-tech solution, it works quite well.


Date3/7/20153/26/20155/11/20156/3/20156/14/2015
Weight (g)12871033886850834

I waited until the weight had dropped by 35% before cracking into the Coppa, a little over 3 months later! I was rewarded with a beautiful rosy color and aroma when I first cut into it. I cut it up into 4 equal pieces, one to enjoy for brunch and the others were vacuum packed and put into the fridge.


Tasting notes: I find the salt level to be quite perfect, it's not too salty, but it's also not under salted. The flavor is pleasant and mild but the spices don't seem to come through very strongly, I would up all of the aromatics significantly for a more pronounced flavor, there is also no heat felt from the cayenne. 

If and when I make coppa again, I'd probably make the following adjustments:

Double the cayenne and juniper berry, and triple the paprika. Consider adding red wine also.