Tuesday, June 23, 2015

Coppa, Capicola, Cappicollo

Whether you know it as coppa, capicola, cappicollo or gabagoo, these names all refer to roughly the same thing. We're talking about a cured whole-muscle usually spiced with red pepper flakes, chilies, cayenne or the like. The other ingredients vary quite a bit by region and taste. These cured meats are typically made from the neck (capo=head, collo=neck in Italian) muscle, extracted from a whole pork shoulder. My recipe was a combination of what I thought would be best after having looked at about 5 or 6 recipes. Here it is:

lbsgrams%
pork shoulder2.841288.2
salt45.093.50%
Instacure #23.220.25%
sugar19.321.50%
white pepper12.881.00%
clove13.220.25%
coriander10
juniper berry31.420.11%
Smoked paprika7.090.55%
rosemary8 leaves0.55%
cayennepinch42.773.32%

For the cure process, I added all the ingredients to a large zip-top bag and massaged the meat. I set it in a baking dish in the fridge and flipped it once a day for six days. After it was all done, I removed the meat and rinsed it and patted it dry. Since I didn't have a casing big enough, I decided to use some caul fat that I found at the butcher shop. I figured it would serve as a protective membrane to prevent the meat from case hardening, or drying out on the outer surface too quickly.

After a good wrapping in a couple of layers and a quick wrap up in butcher twine, I set it in the fridge at 50°F and about 75%RH to start. A tray of moistened sea salt is key for maintaining the proper humidity level. And for a low-tech solution, it works quite well.


Date3/7/20153/26/20155/11/20156/3/20156/14/2015
Weight (g)12871033886850834

I waited until the weight had dropped by 35% before cracking into the Coppa, a little over 3 months later! I was rewarded with a beautiful rosy color and aroma when I first cut into it. I cut it up into 4 equal pieces, one to enjoy for brunch and the others were vacuum packed and put into the fridge.


Tasting notes: I find the salt level to be quite perfect, it's not too salty, but it's also not under salted. The flavor is pleasant and mild but the spices don't seem to come through very strongly, I would up all of the aromatics significantly for a more pronounced flavor, there is also no heat felt from the cayenne. 

If and when I make coppa again, I'd probably make the following adjustments:

Double the cayenne and juniper berry, and triple the paprika. Consider adding red wine also.

Monday, March 2, 2015

Soppressata

Soppressata, or pressed salami dates back to at least the 17th century. Today it is produced in several Italian regions, all of which vary in spices and technique. The type most commonly consumed in the US comes from the Veneto region in the north west of Italy and amusingly, it is the only Soppressata that is not pressed. Go figure.

Something about the unevenness of the oblong shape of this salami gives it rustic character, and I appreciate that. I didn't pursue a particular style when making this though, I went about it in an all too pragmatic way. I first approached my meat monger and requested hog middles, which he didn't have, but he did offer some fibrous casings that he uses and says work just as well. They ranged between 2-1/2" to 3" in diameter.


I then considered the spices that I found that other people had used. Things like: white pepper, black pepper, clove, cinnamon, coriander, cumin, juniper berry, rosemary, bay leaves, paprika, garlic, fennel, red pepper flakes, cayenne, white wine, red wine. Of course, as I've learned from so many things, art and cooking is the practice of restraint. Using all those ingredients together would not taste good. Pick 4 ingredients, and let the simplicity work its magic. Pure and clean flavor is achieved when each ingredient can come through on its own. I decided to go with white pepper, pepper flakes and garlic with a little dry white wine.

I picked up some pork shoulders that had been butchered beautifully. In the Bay Area, Dittmer's is my go to place. They were each about 2.7 lbs. I used the other one to make Coppa which I'll share in another post.

My recipe was an amalgamation of several others, and here's what I used:

Actually used 3g of pepper flake, and white pepper since I felt the amount wasn't enough.

I started by putting the meat grinder components and meat into the freezer for 15 minutes. I diced up the fat back into little cubes, and the meat into slightly larger cubes.


I returned the cubed up meat and fat to the freezer while I proceeded to prep my yogurt and spices. I added slightly warmed water to the Greek yogurt and added the dextrose (corn sugar from a brewing supply) and let them sit for a while to wake up. I then added all the dry ingredients together, the salt, white pepper, red pepper flake and cure #2. I then pressed the garlic into the yogurt and added the white wine. 


I then installed the meat grinder components onto my Kitchenaid and began the grinding process. Fat first, then meat.


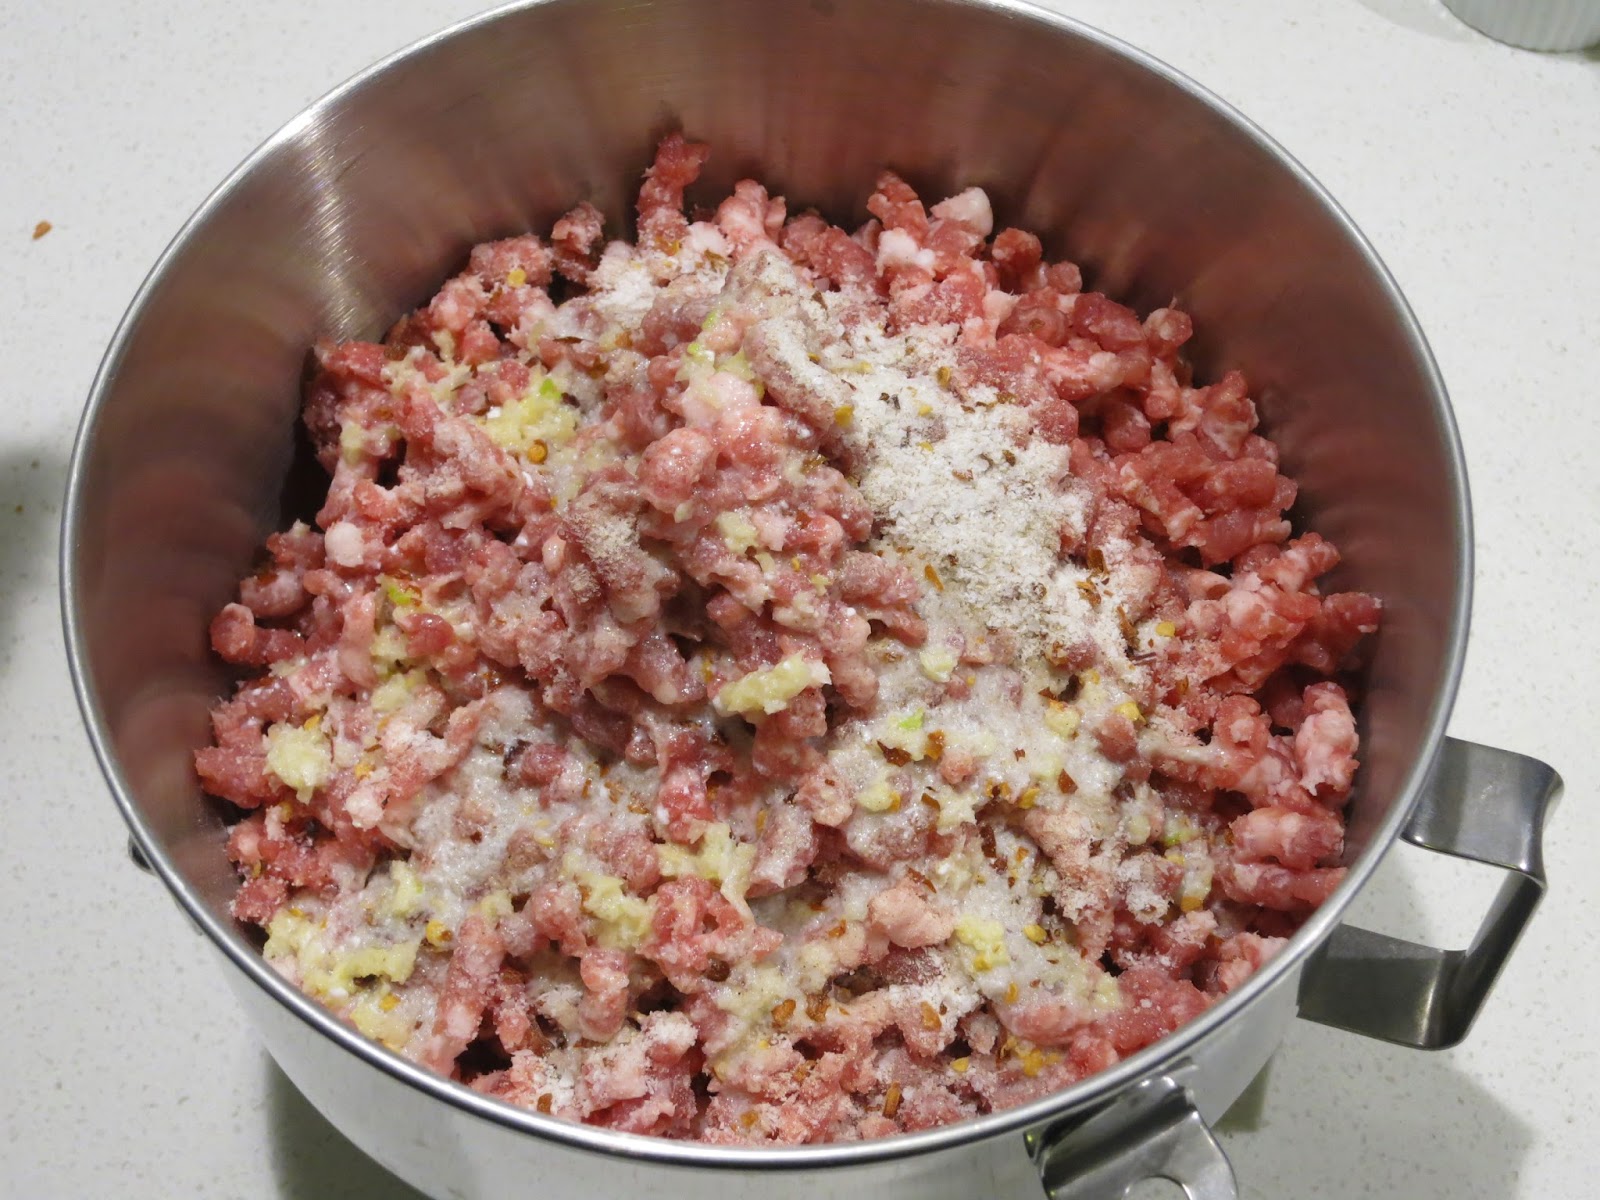
After all the fat and meat was ground, I added the wet and dry ingredients and attached the paddle to my stand mixer for a quick mix. On the lowest setting, the ingredients churned for about 1 minute. Be careful to not let the mixture get warm.


Content with the blend, I cooked off a piece for a taste test and stuffed the rest into the casings that I had. I didn't have the right amount to make two full sized pieces, but no big deal, I made one and a half.

The next step was to prick the casing all over with a pin that I heated with a lighter and wiped off, and of course waived for a few seconds to cool off. Now it was time for fermentation. I placed the meat logs onto sheetpans in my bathroom and ran the shower on the hottest setting for a couple minutes with the door closed to increase the humidity and temperature. I placed another sheetpan on top of each with whatever weights I could find on top of that. A granite mortar is nice and hefty!

After being pressed for several hours I just hung the meat for the remainder of the fermentation process. All in all, they fermented for about 12 hours. Looking back, I should've kept them pressed for the entire duration.

After that, it was time to go in for the official pre-drying weigh in. These beauties weighed in at 1023g for the large and 484g for the small. The fridge was running at 50°F and 75% RH. Now to wait a few weeks...


Sunday, November 30, 2014

Duck Rillettes

Duck Rillettes is a delicious meaty, fatty spread. It's perfect on crostini or crackers. It can be served warm or cold, morning or night, and is a great thing to add to your culinary repertoire. If you dislike liver, rillettes are a friendly alternative to pates and some terrines.

The recipe, I copied nearly exactly from my favorite food blogger, Chef John:

I bought my duck from the local Asian market, Ranch 99. It cost under $25, which could be considered a lot, but I also used the liver to make a pate and the carcass to make stock, so all around, I feel like I got my money's worth.

The orange was very nice in this recipe, and I wouldn't consider it optional. I also could have used a cleaver because my duck came with the head and feet attached! Looking an animal that you will be eating in the eyes is strange for westerners, but while it can be a squeamish affair the first time, it will make you respect the origins of your food a lot more. 

Instead of duplicating the ingredients here, follow the link above to learn how to make this. Here are my pictures of the process.


Wednesday, November 12, 2014

Spanish Chorizo

Spanish Chorizo is known as a dry cured pork sausage. It's prominent flavors are paprika and garlic. It can exist in fresh forms and differently spiced Mexican forms, but to me, thinly sliced rounds of the dried smokey stuff are the most delicious. My inspiration came after having the salumi board at a restaurant in Berkeley called Corso. The meats were served at room temperature and this chorizo in particular had been kissed with some subtle smoke. Once I tried it, and savored its flavors, I began to obsess about how I could recreate it.

Chorizo and the technique of using animal intestines to preserve meat goes back to Roman times. The history is long and the types varied, but I have only one lesson to teach here: cure, ferment, smoke and dry. In that order. The process of fermenting sausages extends to the making of just about every type of salami out there.

For a long time, I've been fascinated by salami, soppresatta and the like. How some unassuming ground meat could be transformed into thin slices of tangy, well spiced deliciousness was akin to sorcery in my book. But, now that I have acquired the requisite tools, I've set out to relearn some of the wisdom known by our ancient ancestors. It doesn't take much to do these projects, in fact, this is my first attempt at a fermented sausage.

My goal was to do this project without purchasing anything off the internet, and I haven't (with the exception of Instacure #2 which I already had). Although I haven't tried the final product yet, I'm pretty confident in saying this was a success.

Here's a little background into how this all works. Similar to pickling, preserving sausages relies on lactic acid to work its preservation magic. In addition to salt, most recipes call for Bactoferm, which is a culture or collection of different types of bacteria including varieties of lactobacillus. These bacteria turn sugars into lactic acid and lower the pH rapidly, causing microorganisms that don't belong there to die off. As the meat sits in the acidic environment and ferments, flavors develop as well as a tangy zing.

For bacteria to work, they need food...sugar, and the most easily digestible of them all is dextrose (glucose). The faster the sugar is digested, the faster the pH drops, and the safer the meat can be without incubating harmful bacteria. I was about to use cane sugar (glucose + fructose) but I realized that the bacteria would have to work harder to digest the fructose, making it less effective. I went to my local beer brewing shop in search of answers and found corn sugar which is the same thing as dextrose, and it was $1. For the culture, I was advised to buy Bactoferm from a reliable source, but I opted instead to use what I had in the fridge which was Greek yogurt, and contained mostly all the same bacteria. I also bought about 20ft worth of hog casings from Whole Foods for $6 instead of buying them online. Overall, this was a pretty inexpensive project.

The ingredients:
3.5lbs Pork Shoulder
36g (2.3%) Salt
4g (0.25%) Instacure #2
6g (0.4%) Dextrose (glucose or corn sugar)
1 big Tbsp Yogurt
43g Smoked Paprika
7g Sweet Paprika
2 or 3 cloves of Garlic
30ml distilled water
30ml red wine
5ft 25mm hog casings

The equipment:
Meat grinder
Sausage stuffer
Cold Smoker (Janky homemade version is totally okay)
Aging Chamber

To get started weigh your meat and calculate your ingredients according to the percentages. Cube up the meat into 3/4" cubes and put in the freezer for 15 minutes. While the meat is chilling, add warm water to the yogurt and dextrose so they can wake up. Make sure the meat grinder and sausage stuffer parts have been chilled in the freezer in advance.

Grind the meat and add the salt, spices, culture and other ingredients. Mix well by hand for a few minutes. Use the sausage stuffer to fill the hog casings and tie them off around every 12 inches.


For the fermentation process, a high humidity and relatively high temperature environment is needed for the bacteria to do their best. The high humidity mostly protects against case hardening. To achieve this, I tied the sausages up to a towel rack in my bathroom, pricked them several times with a sterile pin and ran the shower on its hottest setting for a couple of minutes and kept the door shut. The humidity quickly rose to 90%. It stayed in this warm humid climate for 24 hours.


We cooked off some of the excess meat in the grinder to taste for seasoning. It tasted great, but we realized that the meat was already in its casings and too late to do anything about anyway.


I proceeded to build a cold smoker out of cardboard boxes. All that was needed was a heating element, a fan and a metal dryer duct to make this happen. I constructed a rack for the meat to hang from, and created large round holes in the two boxes for the dryer duct. One box was for generating the smoke and the other was for containing it. For cold smoking, you should keep the temperatures below 70°F at all times if possible.


Of course, smoking wood chips could be fraught with peril, especially if done in a cardboard box. Proceed at your own risk! At one point the wood chips caught flame and we had to reconsider how to perform the whole procedure a little more safely. In the end, we just realized that we had to babysit the setup the whole time while watching movies.


After being smoked for 5 hours, I recorded the initial weights, and placed the meat in the aging chamber with a tray filled with moistened sea salt. The humidity seems to be regulating around 80% with a temperature set to 60°F. In 3 weeks the meat should be ready to slice and taste.

Update 11/24/14: It's been 15 days and the Chorizo is done and looks amazing! I weighed each Chorizo after 1 week and they each had lost about 32% of their weight on average. I decided to crack into one to see if I liked it, or if I wanted to keep drying it. First of all the aroma was smokey and deep, color was brick red and there were discrete morsels of fat just the way I wanted there to be. The flavor was packed with paprika and garlic and smoke. It was delicious. If I was to change anything, next time I would adjust the garlic and smoke ratios. I would decrease the garlic to 1 clove instead of 3 and maybe up the smoke time to 7 hours from 5. Maybe dial back the paprika too, but I think the intent of this cured meat is to be flavor rich. In any case, I found that after only one week, the texture was a little more moist than I cared for so I put them back in the chamber for more drying time. Nine days later, they have lost an average of 43% and I suspect that the flavors will have mellowed out a bit too, but we'll see.